01 THE DAY BEFORE
Begin with what
comes last.
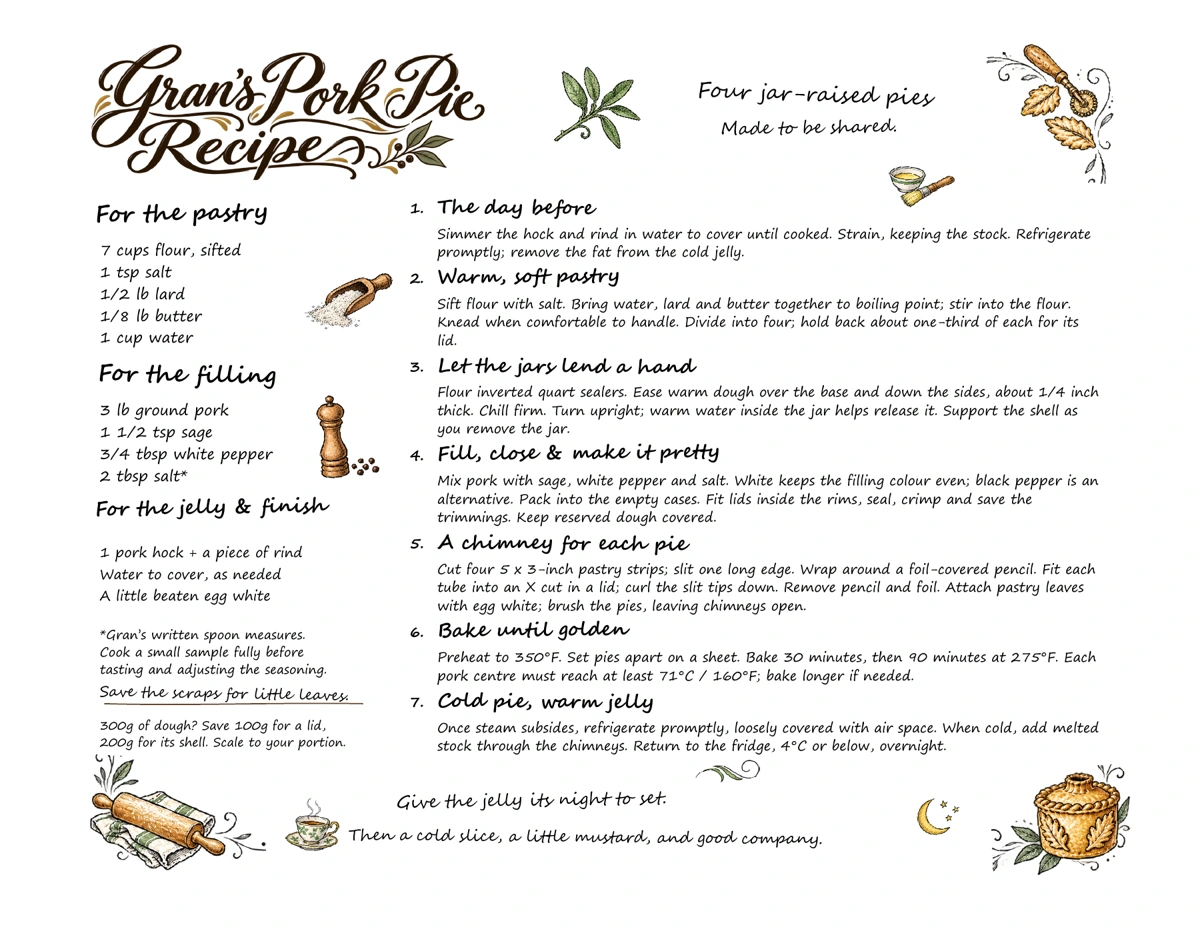
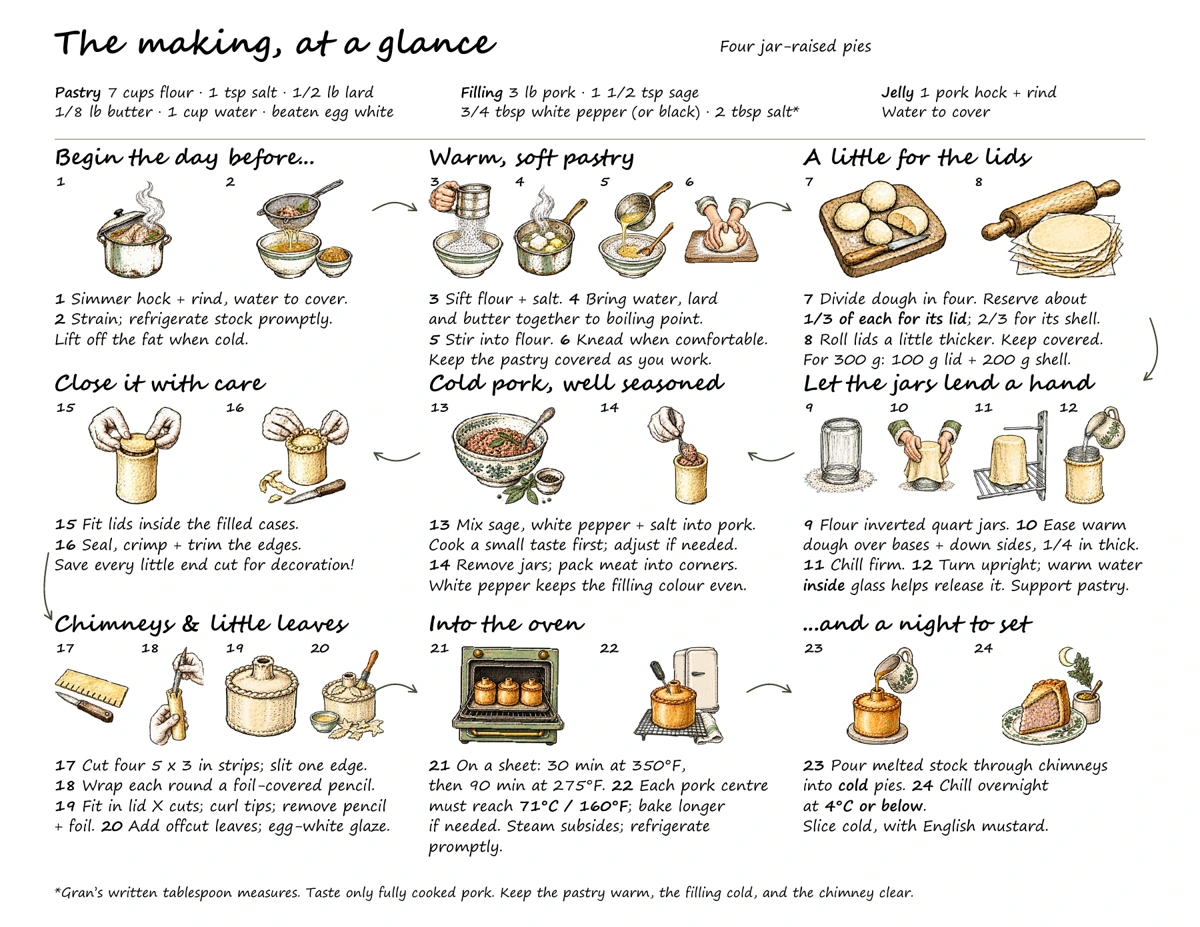
The jelly starts before the pie. Gran makes her “gravy” from a pork hock and a piece of rind the day before, so it is ready when the baked pies are cold.
1 pork hock + a piece of rind
+ The stock changes with the hands
Nan uses two pig feet; Linda and Pat use two hocks. Isaac records four cups of water for two hocks. Gran does not write a water quantity or simmering time. Keep her stock base distinct from those later instructions.
02 THE HOT-WATER PASTRY
First warmth.
Then a little work.
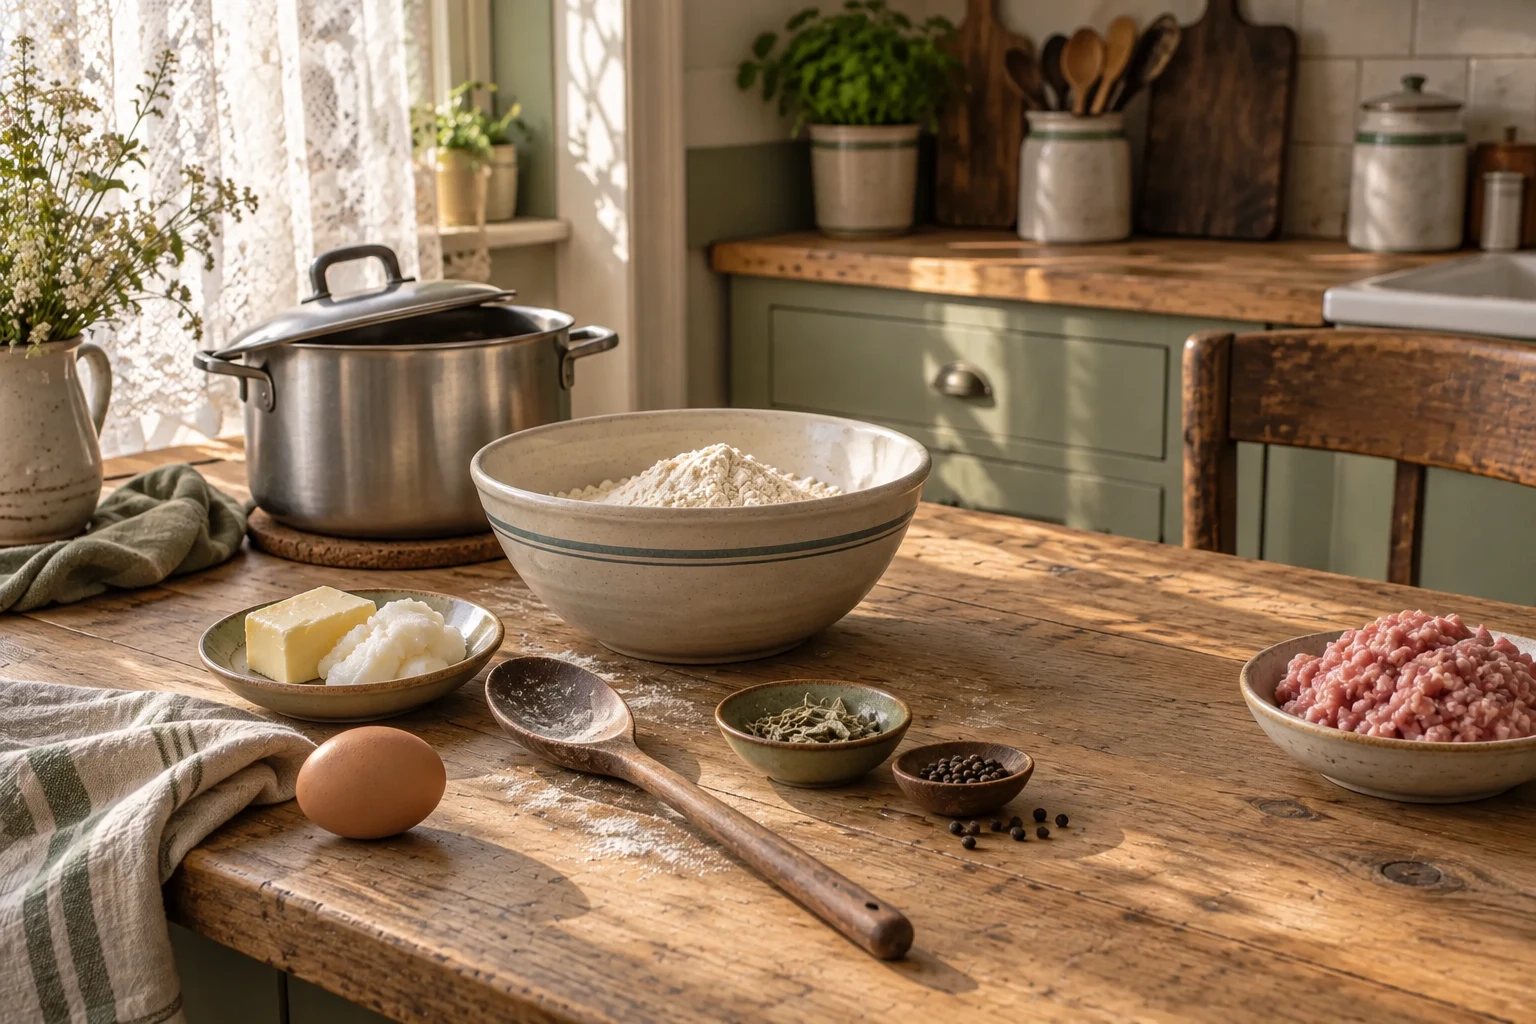
Sift the flour with the salt. Put the water, lard and butter together in a saucepan. Heat until the fats have melted and the water mixture reaches boiling point, then take it off the heat and stir it into the flour. When comfortable to handle, knead into a smooth dough.
7 cups flour · ½ lb lard · ⅛ lb butter
1 cup water · 1 tsp salt
+ The small matter of the butter
Gran records ⅛ lb. Linda writes ¼ lb, with ⅛ lb suggested by “Mom”. Isaac carries that question forward. This is a family variation, not a correction to Gran’s amount.
03 THE QUART SEALER
The jar lends
the pie its shape.
Weigh the kneaded dough and divide it into four equal portions. Following Pat, reserve about one-third of each portion for its lid; two-thirds forms the shell. Flour a clean quart sealer, turn it upside down, and centre a rolled round of warm pastry over its base. Ease the dough down evenly around the jar, rather than pulling it thin.
⅔ for the shell · ⅓ held back Pat’s approximate division
Pat writes: “Trim off approximately 1/3 of each quarter to use for lids.” The 2:1 split follows that sentence. Weigh your own dough; 1,200 g is an example. Allow pastry for the chimneys and keep the trimmings for decoration: no separate weight for these is recorded.
One-third for lids: Pat · page 1
+ From the jar to a standing shell
Linda and Isaac describe pastry hanging at least halfway down the jar; Isaac notes roughly ¼-inch thickness. Pat chills the formed shells until firm, then uses warm water inside the jars to release them. Turn the chilled jar-and-shell upright before adding the water, keep the water inside the jar, loosen gently and slide the jar out while supporting the pastry. This handling explanation connects the family’s short written steps; the jar is a mould, not part of the bake.
04 THE PORK & THE SAGE
This is where
it becomes hers.
Ground pork, sage, white pepper and salt. Our published recipe uses white pepper to keep the filling’s colour more consistent; black pepper is an alternative. Gran’s page gives the flavour in only a few words. Her sage makes a simpler seasoning than Nan’s warm-spice blend.
3 lb ground pork · 1½ tsp sage
05 FILLING THE CASE
Into the base.
Into the corners.
The released shell now takes the seasoned pork. Gran compresses the whole action into “Place in moulds”. Isaac’s notes give us the close-up: divide the filling, then work it into the base and corners of each case.
One quarter of the filling for each of four pies
Assembly detail from Isaac · page 3
+ Nan’s hand feels different here
Nan specifies a first layer about ½ inch deep, pressed firmly, then the remaining meat added lightly. Isaac describes packing the base and corners. Neither instruction establishes a numeric headspace below the lid.
06 FITTING & SEALING
Bring the edges
together.
Roll the four reserved pieces for lids while making the shells; Pat keeps them between layers of film so they do not dry out. She rolls the lids slightly thicker than the shells and fits each down inside its filled case, leaving an edge to turn up. Isaac adds the close-up: bring the lid against the meat without air pockets, then seal and crimp. Keep the end cuts for decoration.
Fit the lid → close the seam → crimp
Lid fit and crimping from Isaac · page 3

+ Keep the end cuts
Pat explicitly saves the trimmed pastry for decorations. Those little pieces will become part of the top of the pie after the chimney is fitted. Gran’s card is brief about the build; the family pages preserve these finishing details.
07 THE LITTLE CHIMNEY
A little chimney.
A way through.

Steam out in the oven; stock in afterwards. The open chimney lets steam escape as the pork cooks. After baking, that same opening gives the stock a way into the spaces around the meat, where it sets as jelly when chilled. Keep the passage clear when adding decorations and glaze.
Four 5 × 3-inch rectangles · Pat’s curled-down tops
+ Shape Pat’s chimney
Follow Pat: cut four pastry rectangles, each 5 × 3 inches—one chimney per pie. Cut an X in each lid and lift the flaps. Wrap foil around a pencil, then wrap a pastry rectangle around it to form a tube. Fit the tube into the opening and curl the lid flaps down to attach it. Slit the chimney’s upper edge and curl those little ends down. Remove the pencil and all foil before baking.
+ Isaac’s smaller chimney — a variation
Isaac and Linda draw a smaller 4 × 2-inch strip and use a film-wrapped pencil as a forming aid. That is a variation on the main method here, which follows Pat. In either approach, remove the pencil and all wrapping before baking and leave the passage open. Gran’s card records holes for the jelly but does not describe a constructed chimney.
+ The opening does the work
The curled pastry top is the family’s finishing touch. The opening through the lid is what matters for venting and filling: Paul Foster’s pork-pie method uses a simple hole to release steam, then the same hole to add jelly after chilling. River Cottage also pours its stock through the lid. Pat’s tube gives our pie its familiar chimney shape.
Paul Foster · steam and jelly ↗River Cottage · pouring the stock ↗08 THE PASTRY END CUTS
Nothing wasted.
A little of your hand.
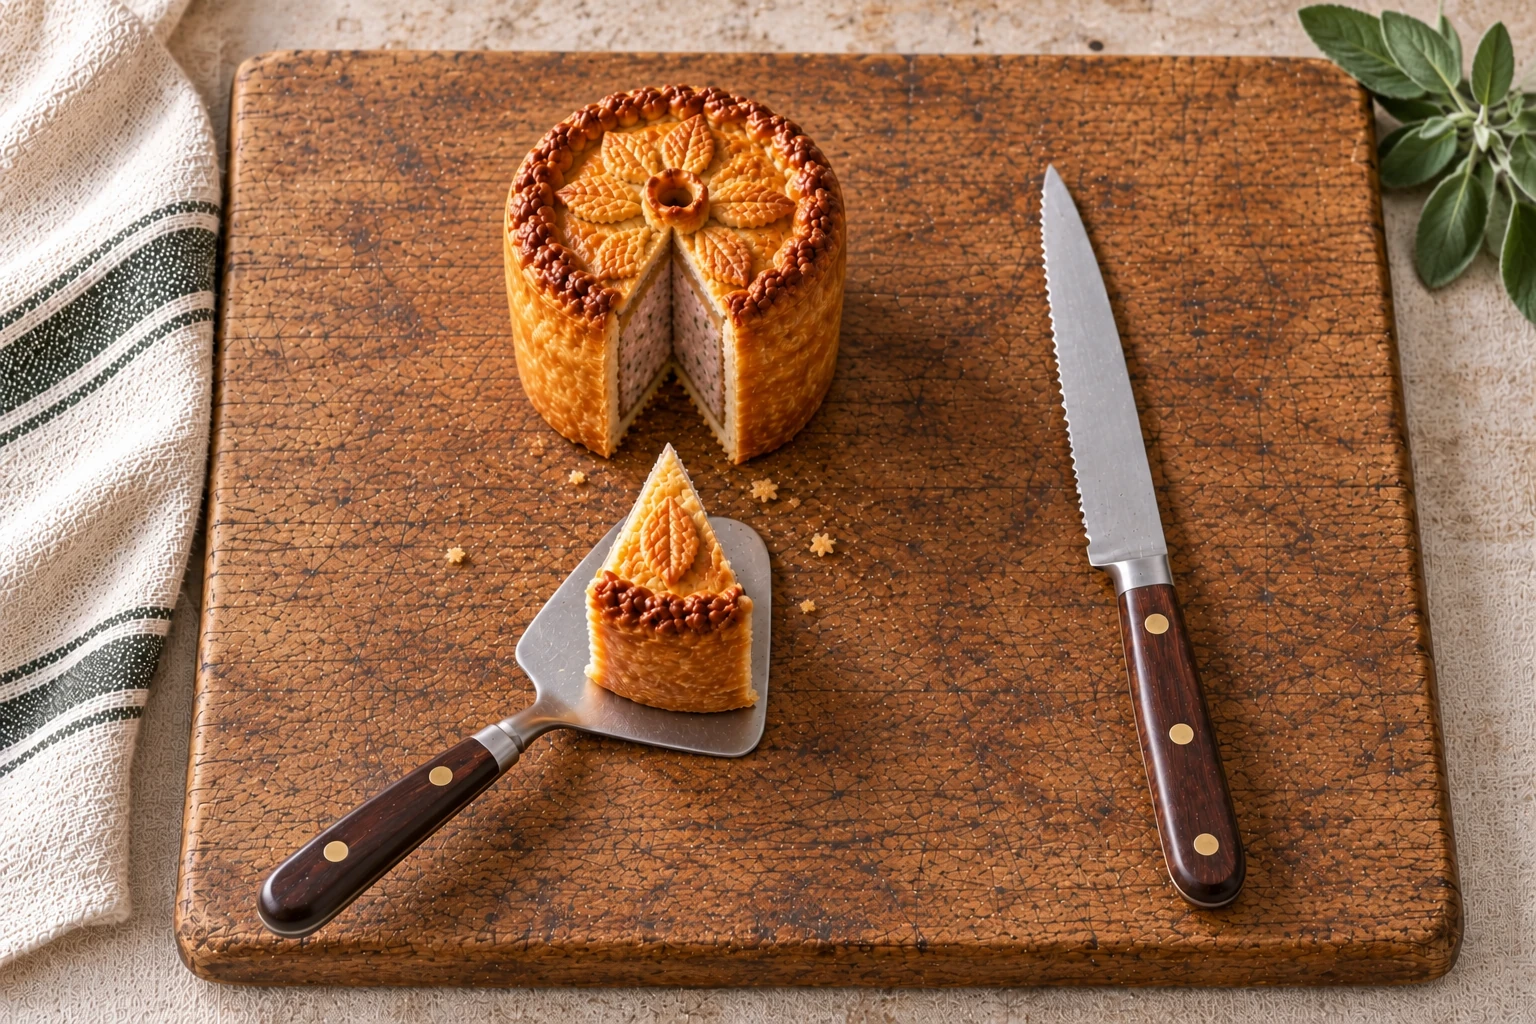
Keep the end cuts of pastry. Pat saves these trimmings for decoration; Linda and Isaac use egg white to attach the cut-outs. Arrange the little shapes on the lid around the chimney, leaving its opening clear. The pie begins to carry the mark of the person making it.
Pastry trimmings + a little egg white
Attaching the cut-outs: Isaac · page 3
+ The shape is yours to remember
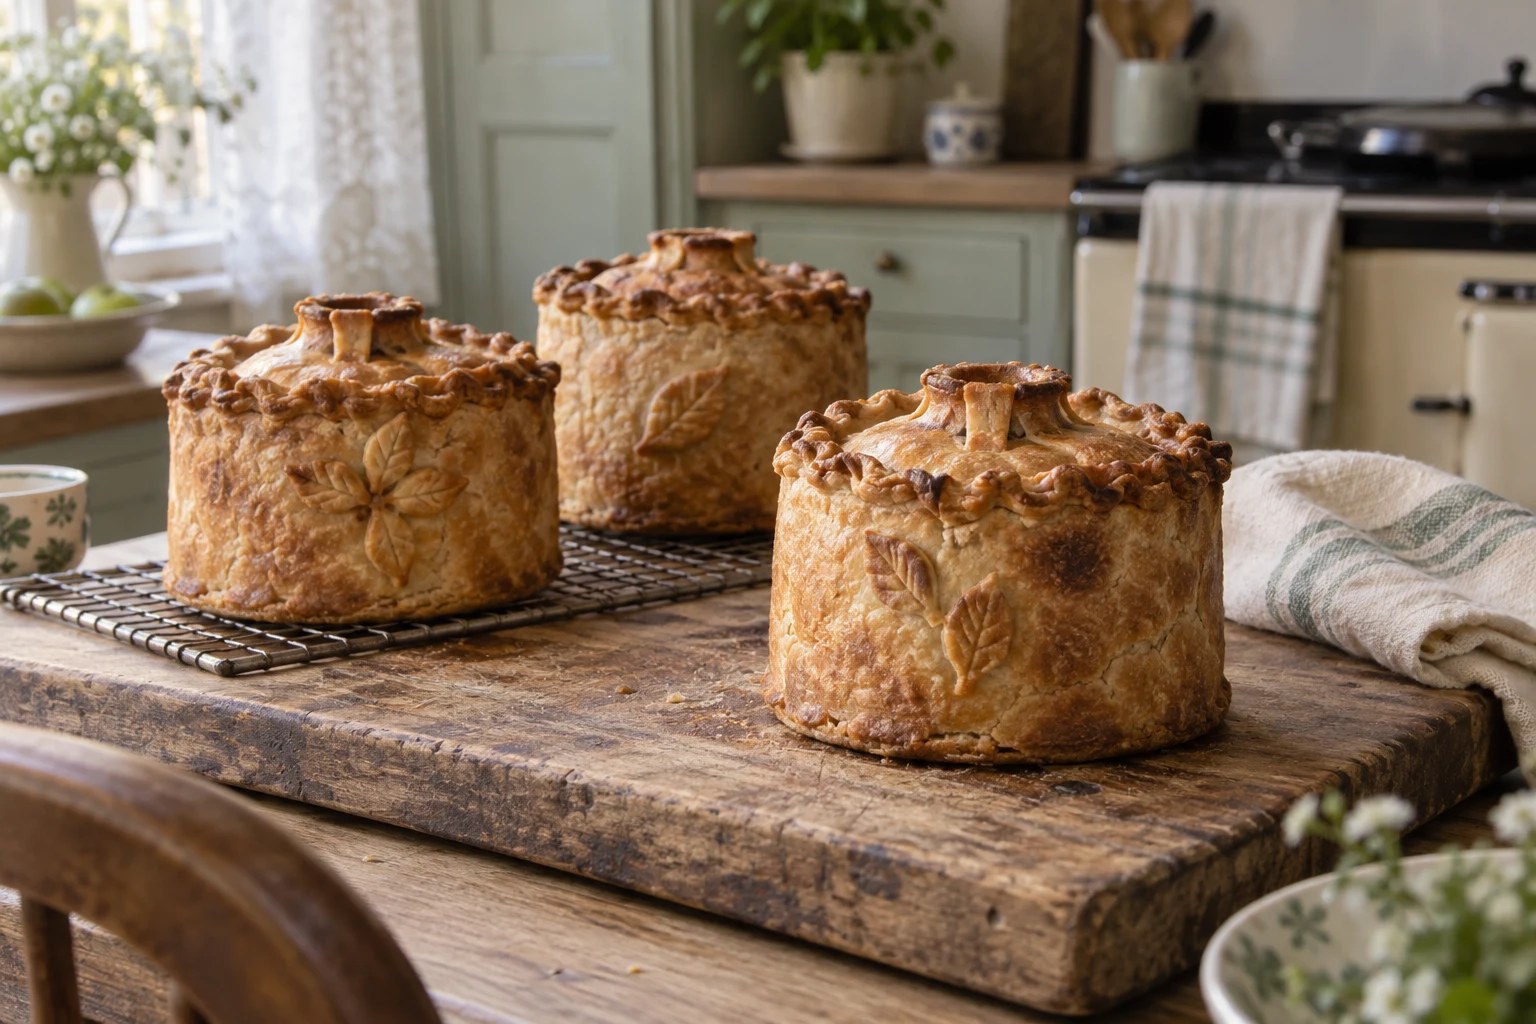
The pages call for saved scraps and cut-out decorations, without prescribing one set of shapes. The leaves and small flower shown here are illustrative. A family photograph or bake can establish the exact decorations each keeper made.
09 BEFORE THE OVEN
A last brush
over the pastry.
With the chimney fitted and the pastry decorations in place, brush the pie with slightly beaten egg white. Gran gives the glaze its own short instruction: before baking. The lid, the crimp, the little shapes—each takes the same light coat.
Slightly beaten egg white
+ Why keep the glaze separate?
Published pork pies use different glazes, and some small moulded pies are removed and glazed again. Gran’s card gives one egg-white glaze before baking. It does not instruct a mid-bake removal or second glaze.
10 BAKING THE PIE
Into the oven.
Watch it turn gold.
The filled, sealed and glazed pies bake together. Preheat to 350°F, following Isaac. Pat uses a cookie sheet; Isaac lines it with parchment. Remove the jars and chimney-forming aids, leave space between the pies, and put the tray into the oven.
THE CENTRE TELLS YOU WHEN
71°C / 160°FMeasure the centre of the pork in every pie with a clean digital thermometer. Keep baking if it is below temperature. The golden crust and the clock are only part of the picture.
+ From the oven to the cold pie
Let the immediate steam subside, then refrigerate promptly with space for air to circulate, loosely covered while cooling. Gran’s jelly goes into a cold pie. Keep the overnight rest for the fridge, after the jelly is poured.
These whole pies still need a measured cooling record. Isaac’s 20–30 minute note is not a universal cooling time.
Read the cooling guidance ↗11 WHEN THE PIE IS COLD
The final pour
finds its place.
Once the pie is cold, the chimney becomes the way in. Pour the prepared pork-stock liquid through it, following Isaac’s finishing notes. Gran’s card calls for holes in the tops of the cold pies and a filling of liquid gravy. The jelly finds the space between pork and pastry.
Cold pie + prepared pork-stock liquid
Pouring through the chimney: Isaac · page 3
+ Cooling is part of the method, too
The card does not give a cooling or storage method. Modern guidance calls for prompt refrigeration and monitored cooling; do not leave an intact meat pie out overnight. A practical cooling and jellying method for these particular pie sizes still needs a measured family bake. Isaac describes reheating set stock to pour; Gran calls it liquid.
Health Canada’s cooling guidance ↗12 THE OVERNIGHT REST
Give the jelly
its night.
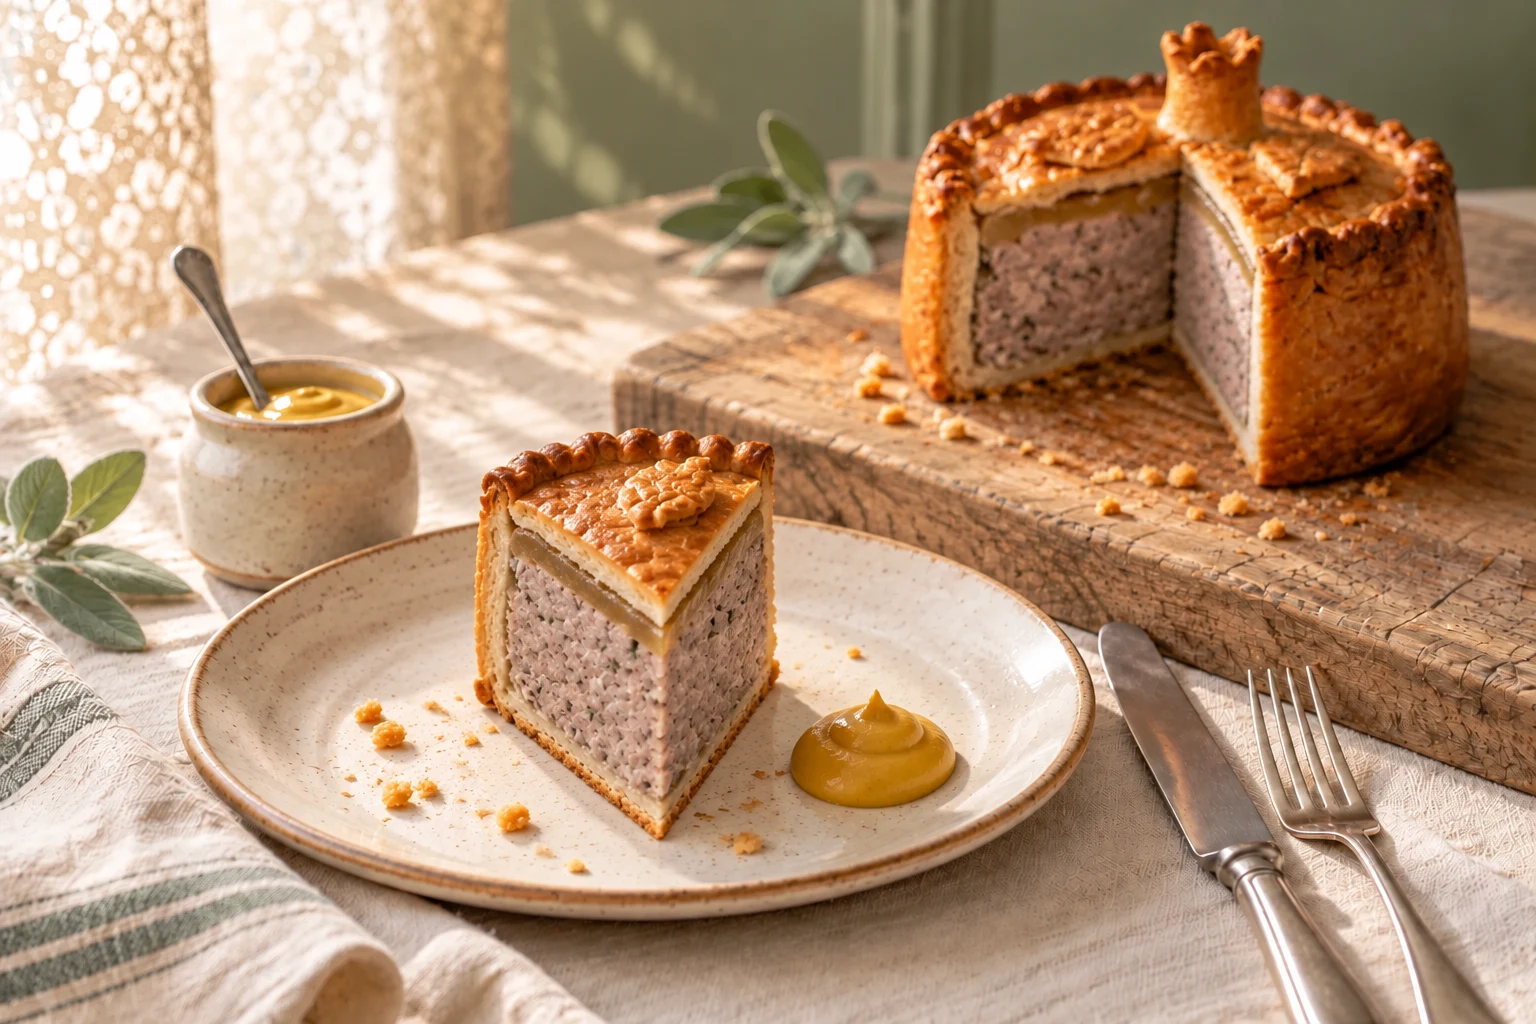
After the jelly is poured into the cooled pie, return it promptly to the fridge. Rest it overnight, level and protected, so the jelly can set around the pork. The next day, check that it has set before cutting the first slice.
Overnight rest clarified by Isaac · 10 October 2026
+ The quiet work of the fridge
Keep the fridge at 4°C or below. This setting stage follows safe cooking and cooling; it does not replace the initial cooling procedure. River Cottage also rests its jellied pork pies in the fridge overnight. Gran’s card leaves that final pause unwritten.
13 THE PIE, COMPLETE
A small pie.
A generous slice.
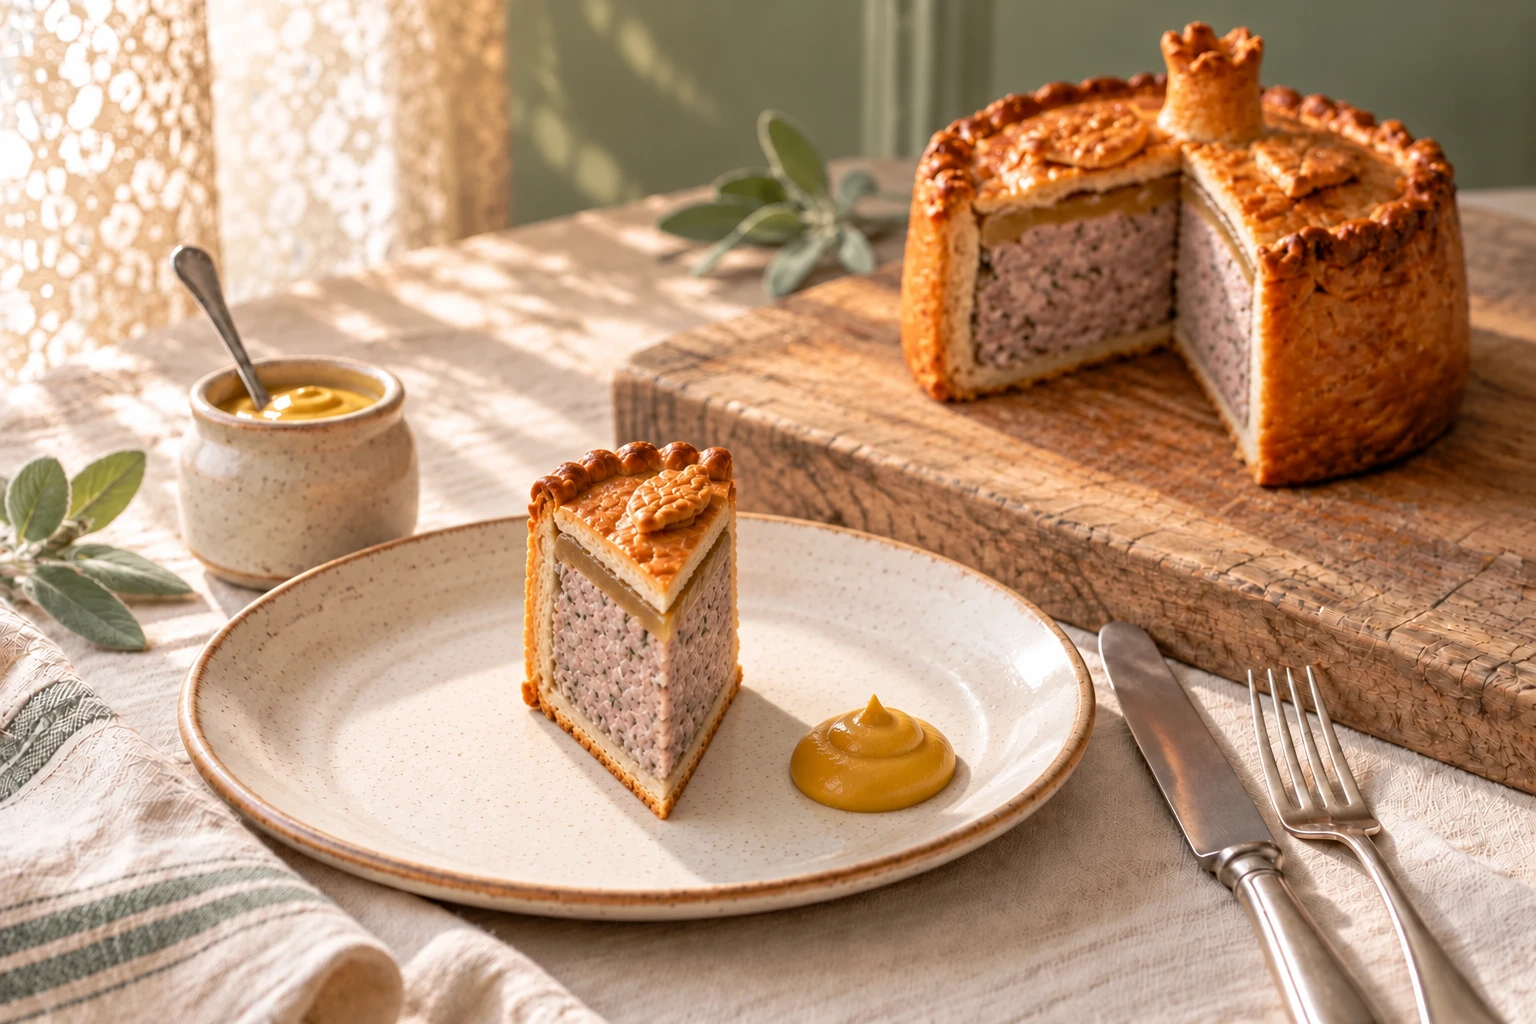
Cold pork, set jelly and a firm pastry shell make a compact, substantial pie. Give the jelly its overnight rest in the fridge before cutting. A modest wedge brings a little of every layer to the plate.
Begin with six to eight wedges per pie, according to appetite and what comes alongside. This is a serving suggestion; the weight of your finished pie is the better guide.
THE JAR GIVES THE SHAPE
Gran’s 3 lb of pork, shared between four pies, is about 340 g of raw pork in each—before pastry, jelly and the changes during baking.
A quart is the jar’s inside capacity. The pastry fits around its outside and only partway down, so it does not tell us the pie’s volume or finished weight.
Illustration of the form, not a measured family pie.